DIY Pressure Sensor Tutorial Circuit Diagram Now that you know the components of a pressure sensor, let's look at a simple circuit diagram. This diagram shows a basic pressure sensor, plus all its components. Starting from the left, you can see the pressure-sensitive semiconductor, followed by the input/output circuit, the reference voltage, and finally the power supply.
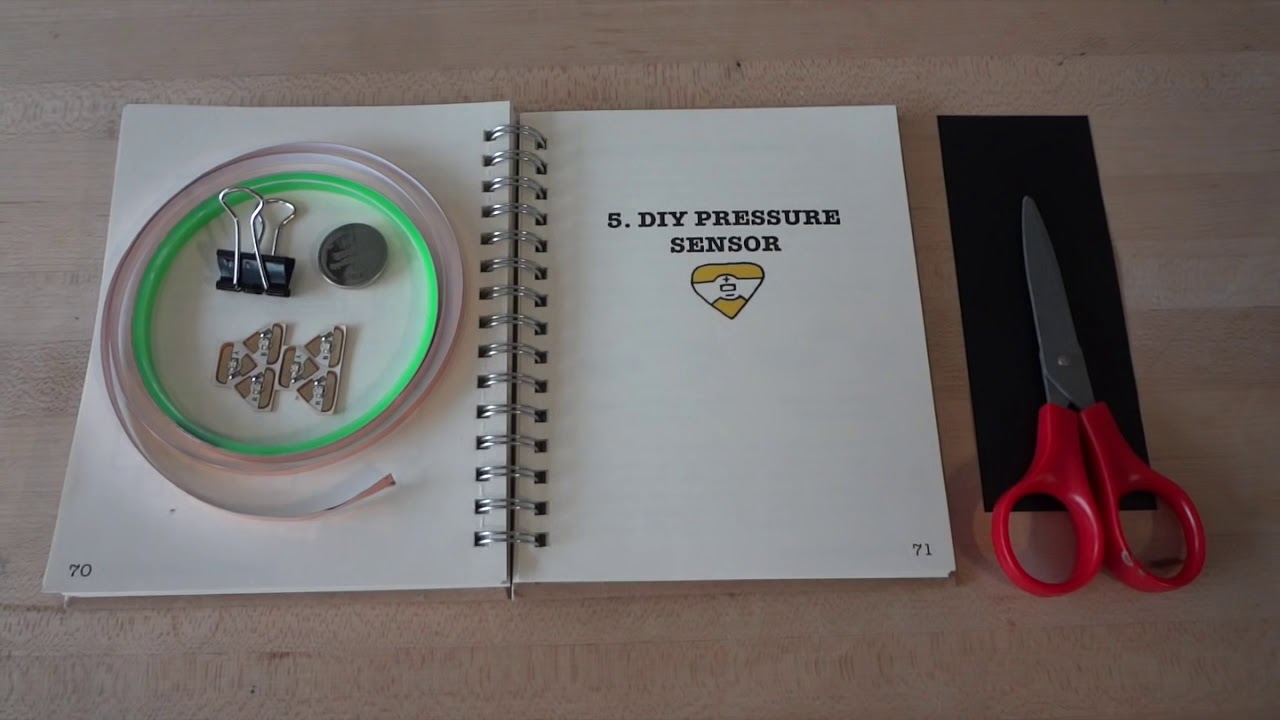
How to make a pressure sensor that can be used for a handful of different projects, including the Hacking STEM Brain Impact simulator Be sure to download the Step 1: Cut the foam to the size you like. You can cut it quite small and still get a good range of resistance levels. The foam in this picture is cut to less than half an inch square and about 1/4 inch thick; once completed these two each produce a range of around 2.6K Ohms down to 400 Ohms when squished completely. the Adafruit "FSR simple testing sketch" the Sparkfun LCD sketch . the Arduino calibration instruction page . and then I tweaked it a bit in order to combine the elements I wanted. Right now, it measures the pressure every quarter second. Change the value in line #51 to adjust the timing.

How to Make a Ridiculously Cheap Analog Pressure Sensor Circuit Diagram
In a Rush: Wiring the Pressure Sensor to Arduino The pressure sensor conveniently sends out pulses according to the pressure data it reads. A clock pin provides timing for that data, like other synchronous protocols.Note that you can use any Arduino digital pin for the clock and data pins.Moreover, the Arduino's 5V is enough to power the sensor module:

A quick look at 6 different ways to use pressure sensitive conductive plastic (aka: velostat or linqstat) in your circuits! In order they are:1. Simple batte In this video, you'll learn how to make an amazingly cheap analog pressure sensor using stuff you probably already have on hand if you've done any electronic DIY Pressure Sensor Making a force sensitive resisitor from scratch. This circuit is a voltage divider circuit, the other variable resistor sensors we've seen such as the FSR and LDR. In this tutorial we're focusing on how to create the sensor, so we've kept the patch simple. 1. Load in the sample. 2. Use the sensor to scrub